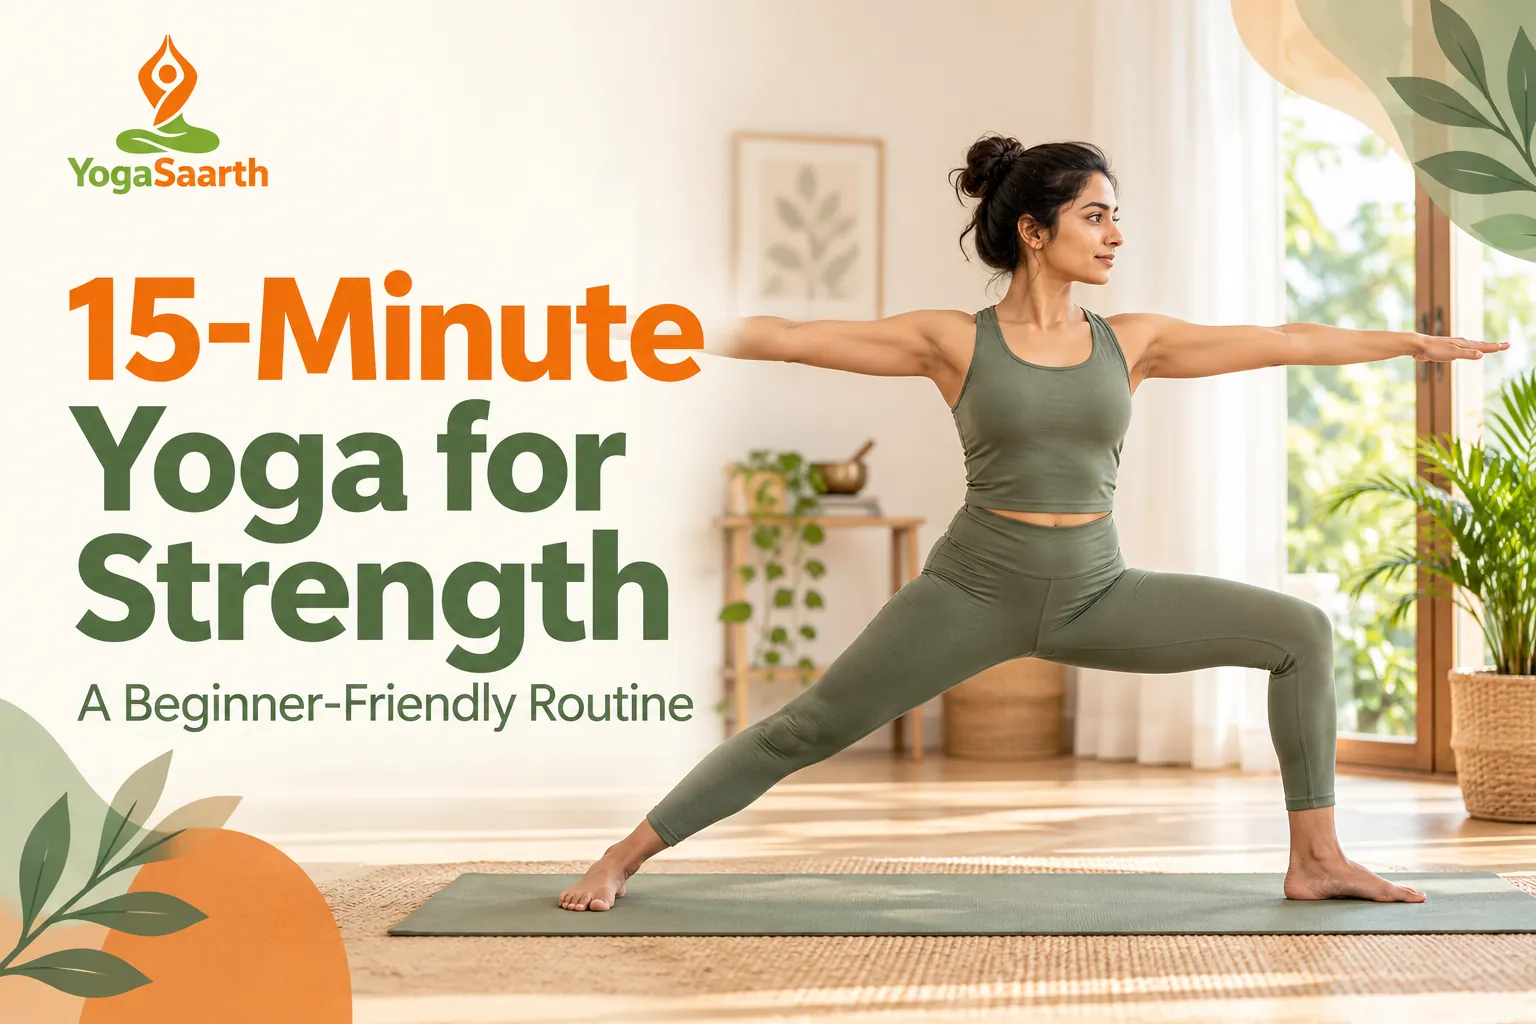
Yoga for strength for beginners starts with steady movement, manageable holds and room to rest. You do not need an advanced flow or a deep pose to begin exploring how your legs, arms and trunk support you.
This 15-minute home practice introduces a few simple positions with a wall and optional chair. The timings include transitions and rest: there is no need to hold a pose for an entire section. Use a shorter session whenever that feels more suitable.
What this strength practice can offer
Yoga postures can challenge muscles through body weight and controlled movement. MedlinePlus describes strength, flexibility and balance as aspects of yoga practice. Benefits develop with appropriate practice over time; this particular routine has not been clinically tested and does not promise results in a fixed number of days.
Think of it as an introduction to strength-oriented yoga rather than a complete fitness programme. For a gentler starting point, try our 10-minute chair yoga routine.
Before you begin
- Choose a non-slip surface and a clear area next to a solid wall. A chair, if used, should be sturdy, non-wheeled and secured against slipping.
- Work in a comfortable range. Breathe normally throughout; never hold your breath to maintain a position.
- Stop if you feel pain, dizziness, unusual breathlessness or joint discomfort. Rest whenever your form becomes difficult to maintain.
- If you are pregnant, recovering from surgery, have a health condition or an existing injury, ask your healthcare professional and a qualified yoga teacher about suitable modifications first.
Your 15-minute beginner strength yoga routine
Minutes 0–2: Mountain Pose and gentle warm-up
Stand with your feet about hip-width apart, knees easy and weight balanced. Keep a wall or chair within reach. Let your arms rest beside you. Make a few small shoulder rolls, then lift and lower your arms only as far as comfortable. Shift your weight gently from foot to foot without lifting either foot. Finish with a few easy breaths.
Minutes 2–4: Wall Plank
Face a solid wall and place your palms on it around shoulder height and shoulder-width apart. Step back a little until your body leans toward the wall in one long line. Keep elbows soft, shoulders away from your ears and your abdomen gently engaged without pulling it in tightly.
Start with a 10–15-second hold, then step forward and rest. Repeat two or three times if comfortable. Standing closer to the wall makes the position easier. Skip it if loading your wrists or shoulders causes discomfort.
Minutes 4–6: Small Chair Pose
Stand with feet hip-width apart near a wall or sturdy chair. Bend your knees slightly and send your hips back as though beginning to sit. Keep your chest comfortable and your weight balanced through your feet. Rest your hands on your hips or lightly on the support.
Stay for one or two normal breaths, then straighten slowly. Repeat a few times with pauses. A shallow bend is enough; do not chase a deep squat. For knee discomfort, return to standing and ask a teacher for an alternative.
Minutes 6–9: Warrior II, both sides
Take a comfortable wide stance. Turn your right foot outward and angle the left foot slightly inward. Bend the right knee gently in the same direction as the toes, keeping it approximately above the ankle. Keep your torso upright and avoid forcing your hips to face fully sideways.
Extend the arms at shoulder height if comfortable, or leave your hands on your hips. Take two or three easy breaths, straighten the leg and rest. Change sides slowly. Use a shorter stance and smaller knee bend if needed. Repeat only while you feel steady.
Minutes 9–12: Supported standing balance
Stand beside a wall with one hand resting on it. Shift weight gently onto your left foot and keep the right toes on the floor as a kickstand. Grow tall without stiffening your standing knee. Hold for two or three breaths, release and switch sides.
If you remain comfortable and stable, briefly lift the right heel while keeping the toes down. There is no need to lift the entire foot or remove your hand from the wall. Spend the remaining time alternating sides with rest.
Minutes 12–15: Release and recover
Return to easy standing, then sit on a chair. Relax your arms, soften your shoulders and notice your natural breathing. Let the legs recover. If you prefer, lie on your back with knees bent and feet resting on the floor, provided getting down and up is comfortable for you.
How to make progress without rushing
Begin with one comfortable round. On another day, repeat the same routine and notice whether transitions feel more controlled. Increase only one element at a time, such as one extra repetition or a slightly longer hold. Rest between sessions when you are sore or tired, and avoid practising through pain.
For a quieter practice on another day, explore our gentle yoga for flexibility. If you want help choosing variations, see Yoga Saarth online yoga classes and discuss your experience and limitations before joining.
Frequently asked questions
Can a beginner use yoga to work on strength?
Yes. Accessible postures can challenge muscles, but the amount of effort varies by pose and person. Start with manageable positions and seek instruction for alignment.
Do I need a floor plank?
No. This routine uses a wall plank. You can also skip it if it does not suit your wrists or shoulders.
Should I feel sore afterwards?
Soreness is not a goal or a measure of success. Reduce the next session if you feel excessively sore. Persistent or sharp pain needs assessment.
Does this replace all other exercise?
No. A short yoga session can be one part of a broader activity routine. Your overall needs depend on your health, goals and other activities.
Sources and editorial note
Reviewed 26 October 2026. General information, not personalised medical advice. The sequence and timings are an editorial practice suggestion.
- MedlinePlus: Yoga for health — yoga components and beginner guidance.
- NCCIH: Yoga effectiveness and safety — precautions and evidence overview.
- NIDDK: Tips for starting physical activity — gradual activity and strengthening.